Article content
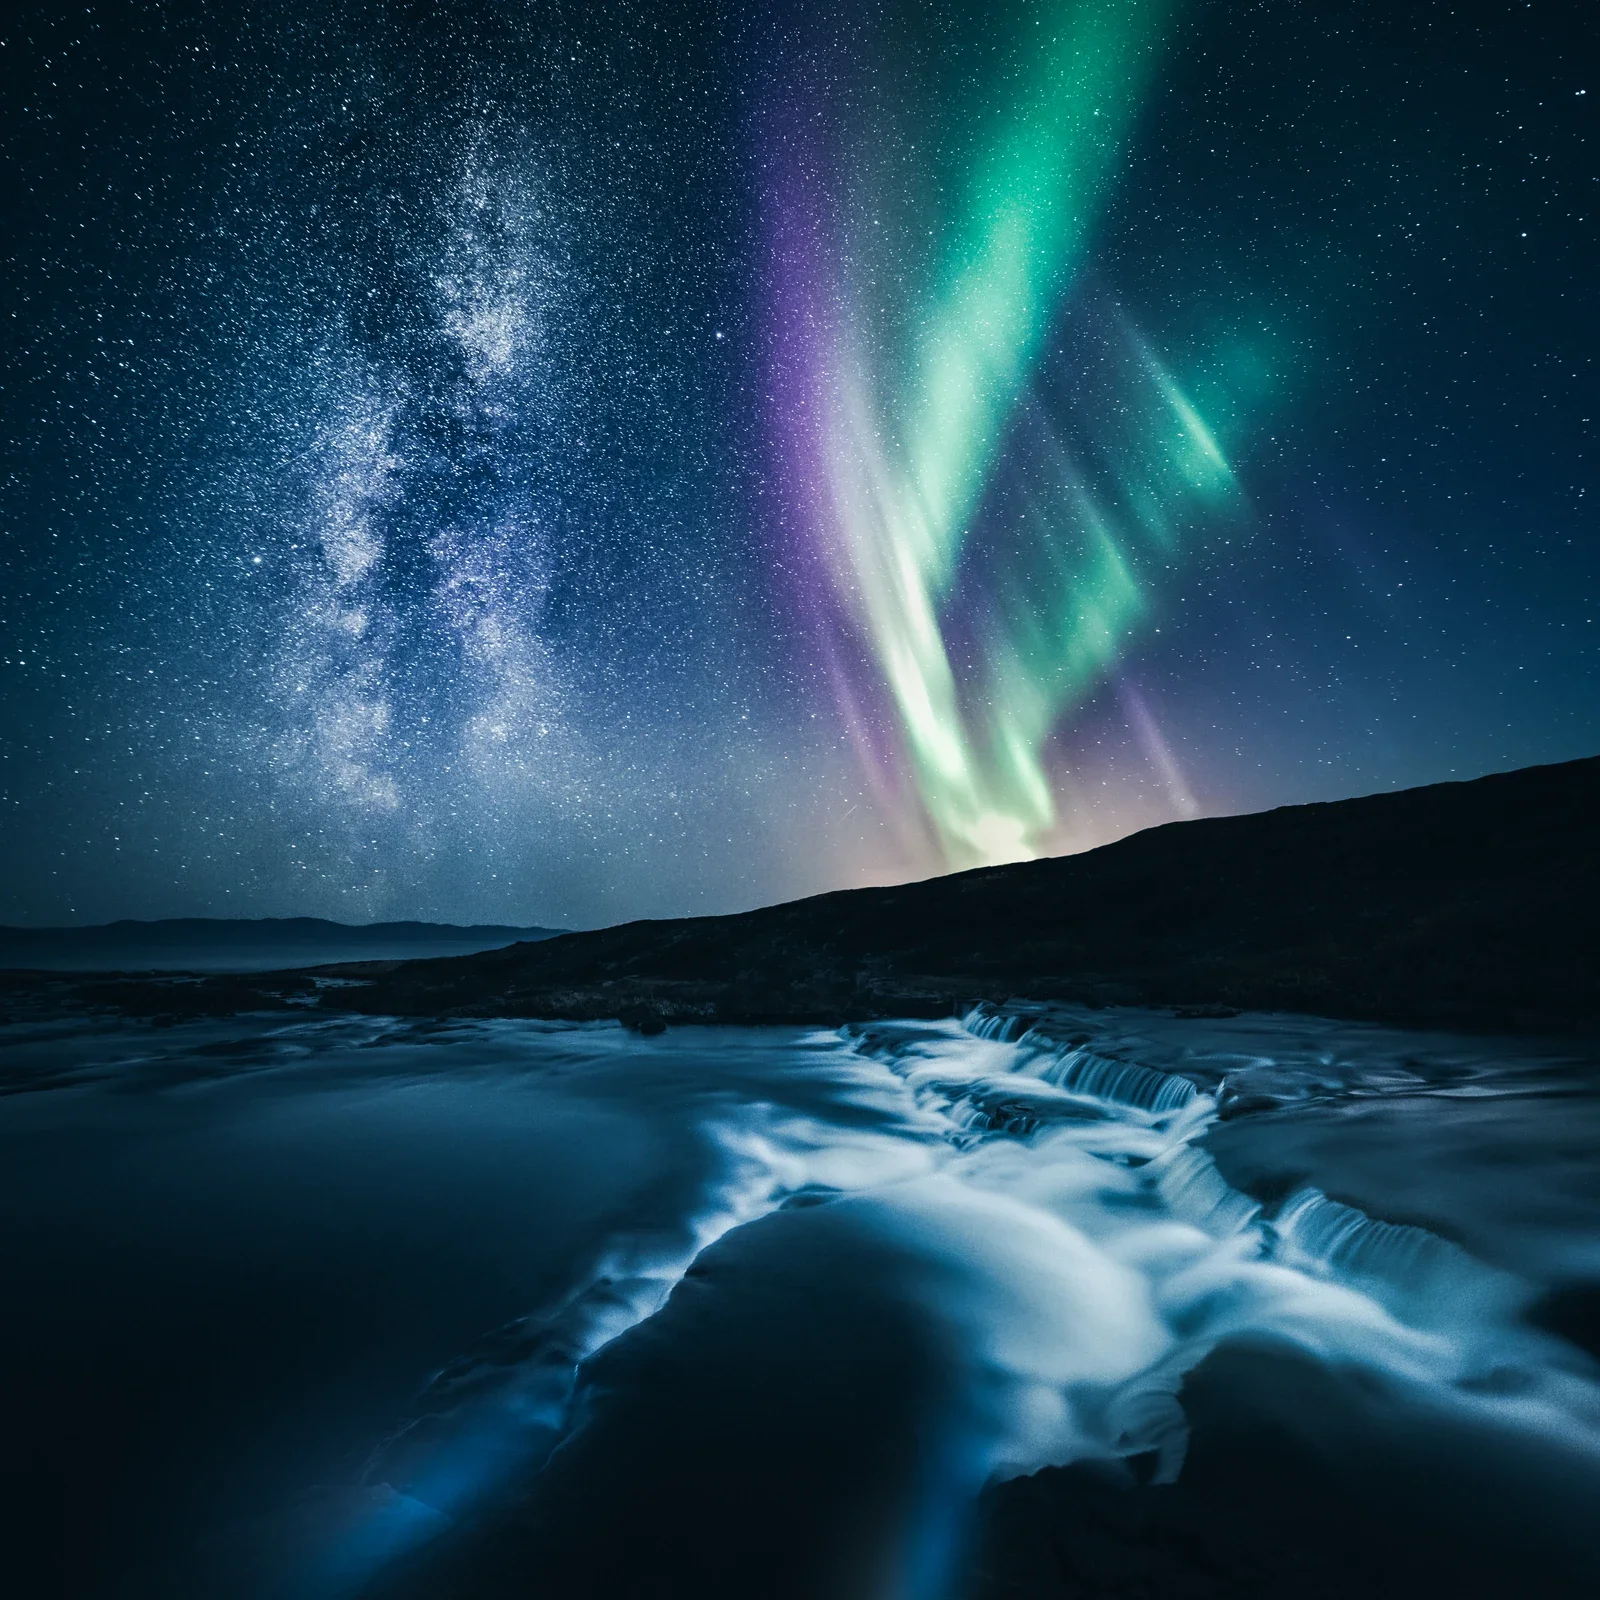
Standing under the Aurora Borealis is one of the most profound experiences in nature. Capturing it is a different story.
You stand in the freezing cold for hours. The sky looks incredible to the naked eye. But when you check your camera, the result is disappointing. The stars are blurry trails. The aurora is a shapeless green blob. Or the image is pitch black. See my earlier tutorial If you want to learn How to Capture Aurora & Northern Lights.
I have spent thousands of hours photographing the night sky in the Arctic. I have messed up plenty of shots so you don’t have to.
Here are the 5 most common mistakes photographers make with the Northern Lights and exactly how to fix them.
1. The infinity focus trap
The main reason for blurry night photos is missed focus. Many beginners simply twist their lens to the infinity-symbol (∞) and hope for the best. On most modern lenses, the true infinity focus point is slightly before the line. If you just twist it to the end, your stars will look like blurry snowballs. The Fix. Don't trust the mark on your lens. Switch to Manual Focus. Turn on Live View and zoom in digitally on the brightest star you can find. Twist the focus ring gently until that star becomes a tiny, sharp pinpoint.
Once you have it, tape your focus ring down with gaffer tape. It saves you from accidentally bumping it in the dark.
2. Being afraid of high ISO
We are often taught to keep ISO low to avoid noise. So you try to shoot at ISO 400 or 800. The problem is that to get a bright enough exposure, you have to keep your shutter open for 20 or 30 seconds. This turns the beautiful, dancing pillars of the aurora into a muddy green soup. The movement blurs together.
The Fix. It is better to have a sharp, slightly grainy photo than a clean, blurry one.
Start with ISO 1600 or ISO 3200.
Keep your shutter speed faster (between 2 to 10 seconds) to freeze the structure of the aurora.
You can fix noise in post-production. You cannot fix motion blur.
3. Ignoring the composition
When the lights appear, panic sets in. You point the camera up at the green sky and shoot. While the colors are impressive, a photo of just the sky is rarely compelling. It lacks scale. Without a foreground, the viewer has no context.
The Fix. Treat the Aurora as the background, not the subject. Look for a tree, a cabin, a reflection in a lake, or even a silhouette of a person. Use a wide-angle lens (14mm-24mm) and get low to the ground to make the foreground prominent.
4. Underexposing the histogram
In the dark, your camera's LCD screen looks incredibly bright. An image that looks perfect on the back of the camera in the middle of the night will often look almost black when you open it on your computer the next day.
The Fix. Stop looking at the image preview. Look at the Histogram. You want the mountain of data to be separated from the left wall. If the data is smashed against the left side, your shadows are clipped and unrecoverable. Expose to the right slightly more than you think you need to.
5. Over-editing the greens
We have all seen them. The Neon Radioactive aurora photos.
When editing RAW files, it is tempting to drag the Saturation slider to +100. This turns the natural, mystical glow of the Northern Lights into a harsh, fake-looking green color.
The Fix. Be subtle.
Instead of global Saturation, use Vibrance.
Adjust the White Balance carefully. If the image is too warm, the green looks muddy. A slightly cooler white balance (3500K–4000K) often makes the aurora pop naturally against a deep blue sky.
Control the Highlights. The core of the aurora is often bright. Pull the highlights down slightly to recover the texture in the curtains.
Instead of cranking up the saturation, try to balance the tones subtly. I break down my full color process in my article on Cinematic Color Grading.
Final thoughts
Night photography is mostly patience.
You will stand in the cold. You will have cloudy nights. But when the sky finally clears and the lights dance, having these settings mastered means you won't be fumbling with your camera. You will be creating art. Clear skies are necessary for the Aurora, but don't stay inside when the weather turns cloudy or misty. That is the perfect time for a different atmospheric photography. Read my guide on Mastering the Mood - How to Photograph Fog and Mist.
FAQ on northern lights photography
What is the best lens for Northern Lights? You need a wide-angle lens with a fast aperture. A 14mm or 24mm lens with f/2.8 (or f/1.4) is ideal. The wide angle captures the vast landscape, and the fast aperture lets in more light.
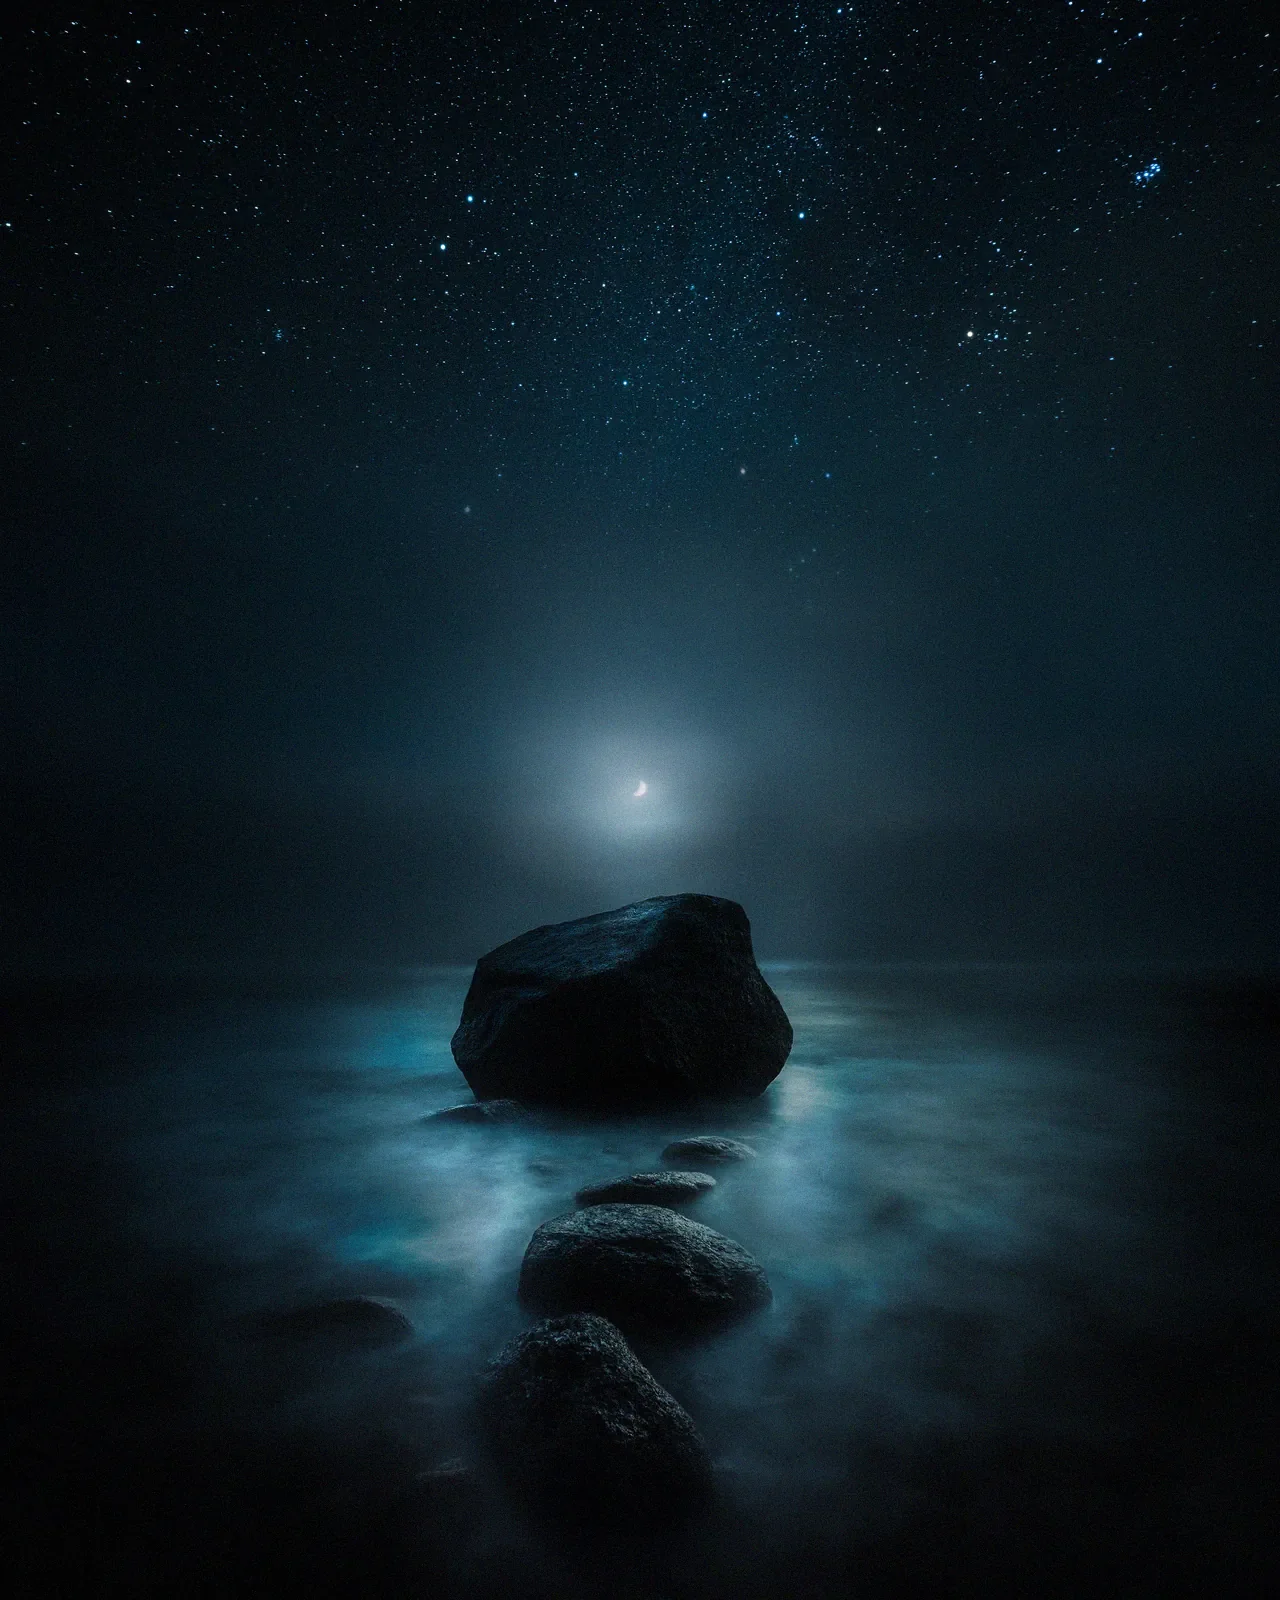
Can I photograph the Aurora when the moon is out? Yes, and you often should. Many photographers stay home during a full moon, which is a mistake. While a bright moon can wash out faint auroras, a quarter or half moon is perfect. It lights up the foreground landscape naturally, so you don't end up with a pitch-black silhouette against the sky.
Recommended
Borealis Presets
Keep aurora edits natural with controlled color and atmosphere.