Article content
Most people stay inside when the weather turns grey and visibility drops. Photographers should do the opposite.
Fog and mist are nature's softbox. They hide the clutter of the world. They turn a messy forest into a clean, minimalist composition. They separate the background from the foreground, creating instant depth.
If you enjoy the aesthetic of simplicity, fog is your best friend. It forces you to focus on shapes rather than details, much like Minimalist Landscape Photography.
If you want to create images that feel cinematic and mysterious, you need to learn to love "bad" weather. Here is how I capture the mood when the fog rolls in.
1. Light is everything
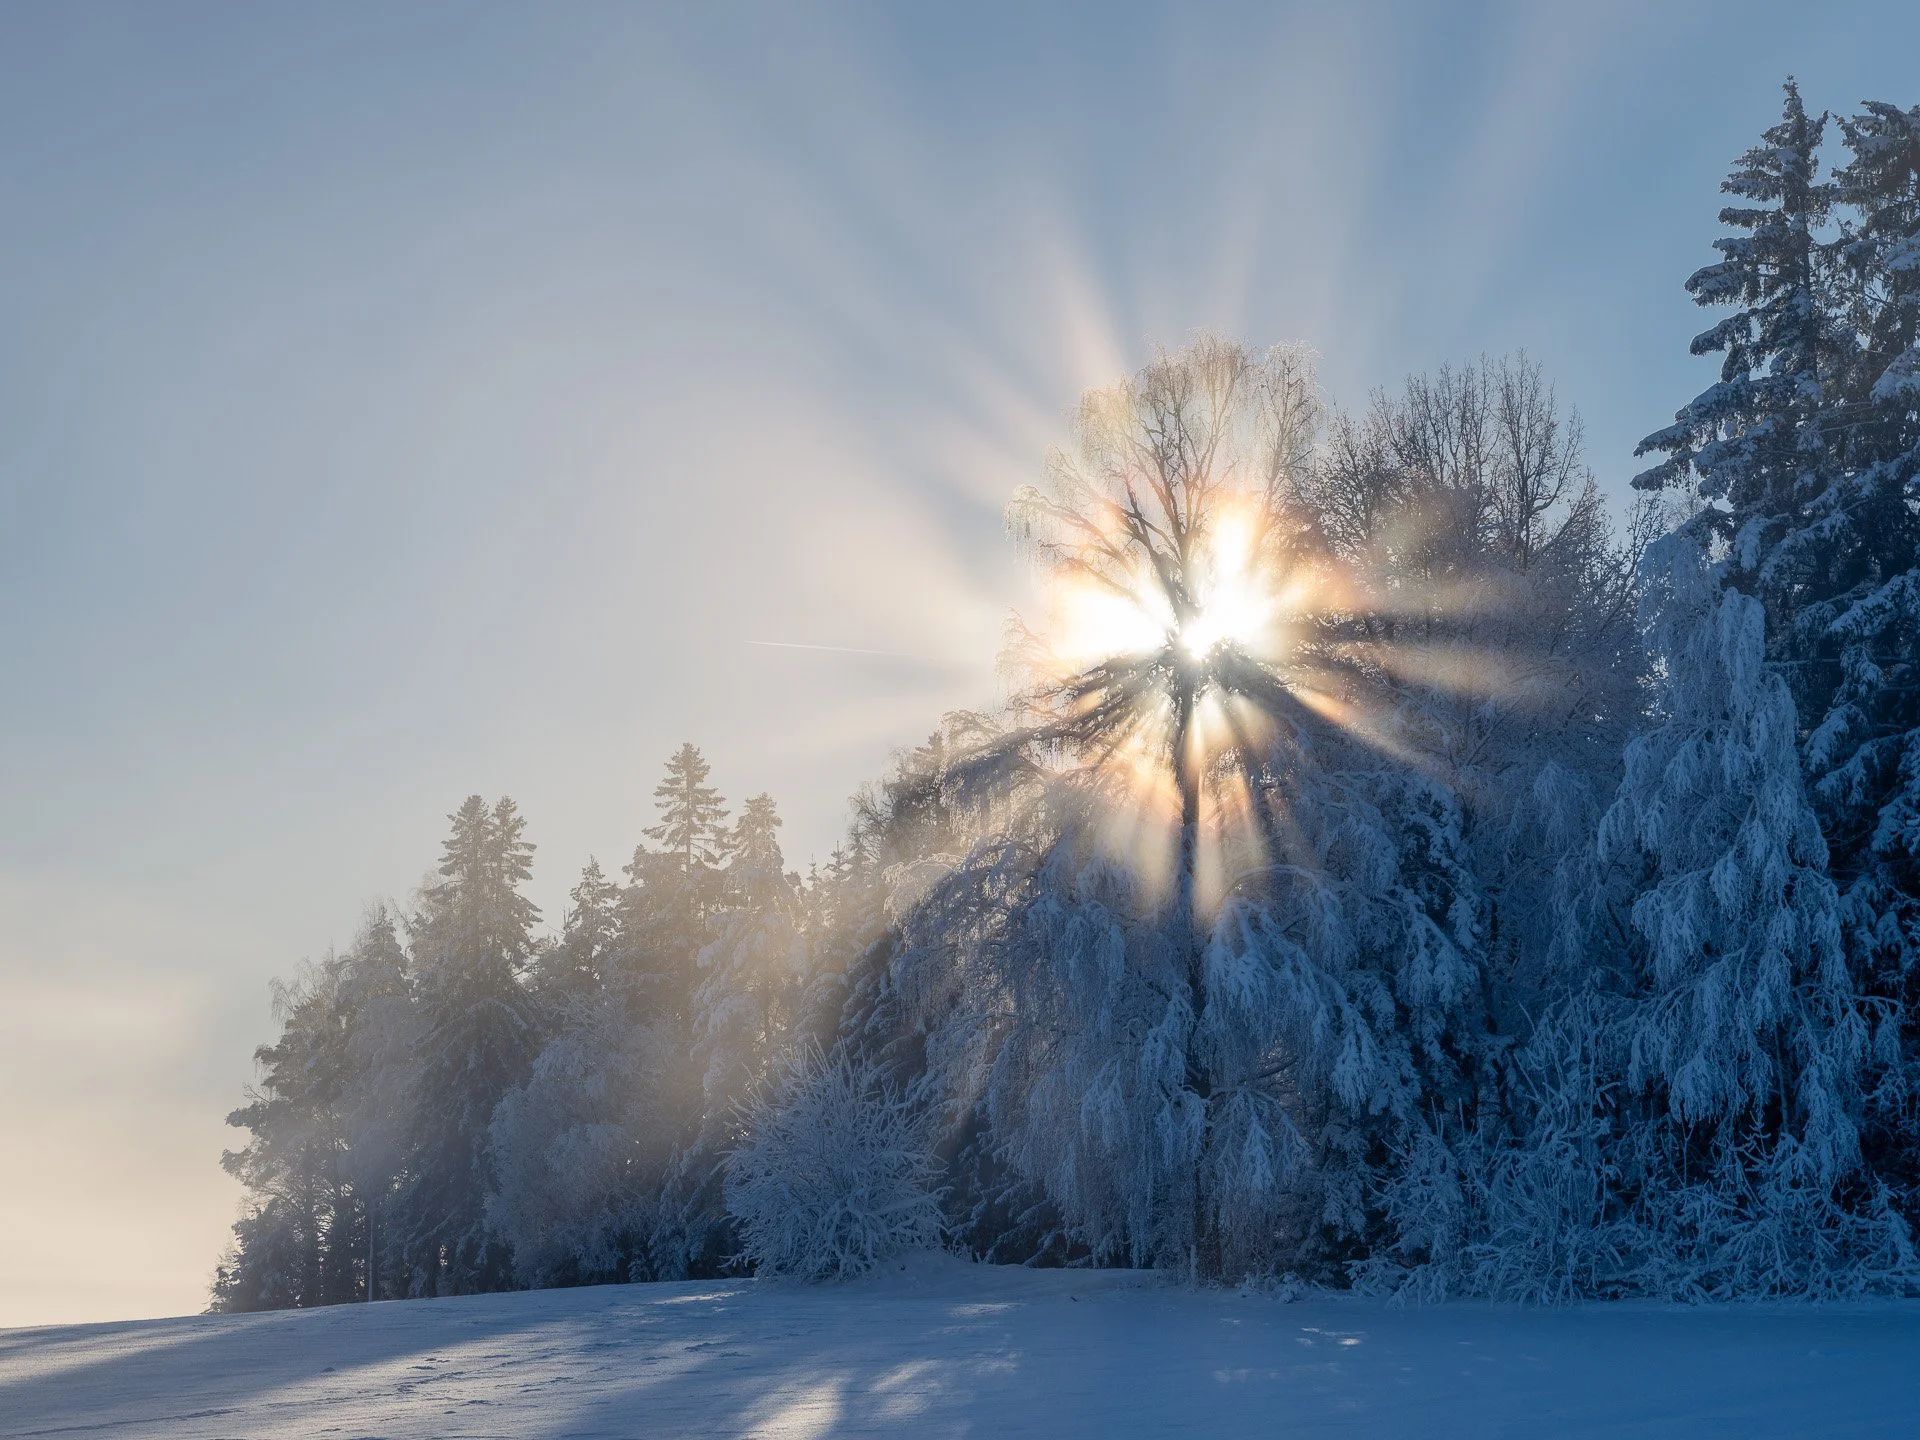
Fog itself is just water droplets. It looks flat and grey on its own. To bring it to life, you need light. The best fog photos usually happen when the fog is clearing and the light starts to break through. I almost always shoot towards the light source. When the sun is behind the mist, the water droplets catch the light and glow. This creates "god rays" and intense atmosphere. If you shoot with the sun behind your back, the fog will look flat.
Tip: This technique works exceptionally well during the Blue Hour transitions. Read more about finding the right light in Why I Stopped Chasing the Golden Hour.
2. Watch your exposure
Your camera's light meter will struggle in the fog. The camera sees all that whiteness and thinks the scene is too bright. It will try to darken the image to make it neutral grey. This results in dark, muddy photos. To fix this, use Exposure Compensation. Dial in +0.7 or +1.0 EV. This tells the camera to keep the white fog bright and clean, rather than turning it grey.
Check your histogram. You want the data pushed to the right, but be careful not to clip the highlights completely.
3. Create depth with layers
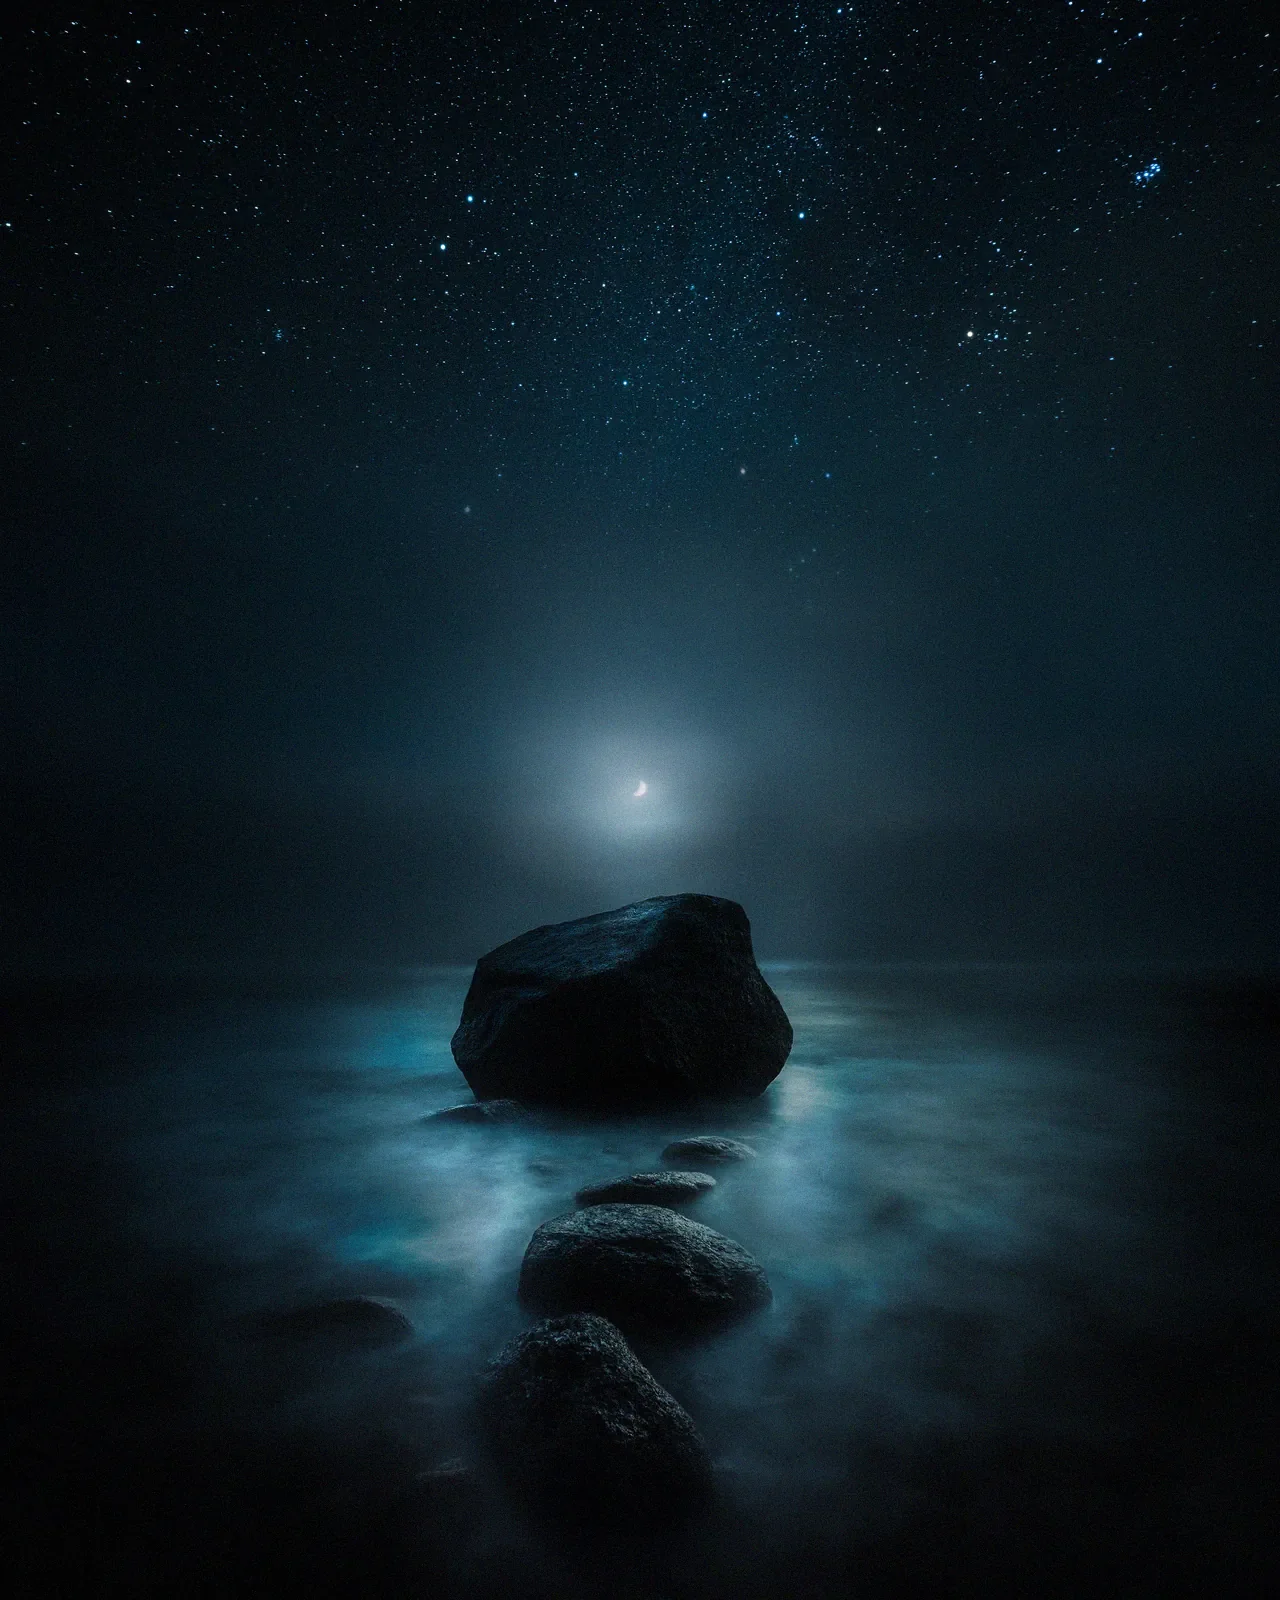
Thick fog can hide too much. If you can't see anything, the photo will just be a white wall. The secret is to have a strong foreground subject that is close to the camera. A dark tree trunk, a rock, or a person.
This creates a contrast:
Foreground. Dark, sharp, and high contrast.
Background. Light, soft, and low contrast.
This transition from dark to light creates a massive sense of depth. Fog does the work of simplification for you. It removes distractions you would otherwise have to compose away.
4. The dehaze trap
When editing foggy photos in Lightroom, avoid the Dehaze slider. The Dehaze tool is designed to remove fog. If you use it, you will destroy the atmosphere you tried to capture. It adds too much contrast and saturation, making the image look harsh and digital.
Instead, try these adjustments:
Lower the Contrast. This enhances the softness.
Raise the Whites. This makes the fog glow.
Cool down the White Balance. Fog often looks better with a blue or teal tint rather than a warm yellow one.
If you want to master these subtle color shifts, I recommend reading my guide on Cinematic Color Grading next.
Final thoughts
Fog is fleeting. It moves and changes shape every second. It teaches you to be fast and observant. You might only have a few seconds when the tree line is perfectly revealed before it disappears again. Don't wait for a sunny day. The most emotional images are hidden in the mist.
FAQ on fog photography
How do I protect my camera in the fog? Mist is just water. If the fog is heavy, your camera will get wet. Bring a microfiber cloth to wipe the lens frequently. Water droplets on the front element will ruin the shot if you shoot into the sun.
Why are my fog photos blurry? Autofocus relies on contrast to find a target. In low-contrast fog, your lens will hunt. Switch to Manual Focus. Use Live View and zoom in on a high-contrast edge (like a tree branch) to set your focus, then leave it there.
Recommended
EPIC Presets
Turn your RAW files into finished atmospheric photographs. A complete Lightroom system from base toning to final mood.